Setup of the CrossFTP Server
CrossFTP Server provides an easy to use GUI interface for user's configure on the server. Here is an quick example that guides you how to setup using our CrossFTP. In this example, let's assume that you want to run the FTP server on port 18021, and on the server you share the directory "d:/" for the user named upload with passowrd upload.
1. Start the CrossFTP Server
This is the main Server Panel. Press the button on the main panel will show the server configure dialog, and press the will start the CrossFTP server. This is shown in the following figure.
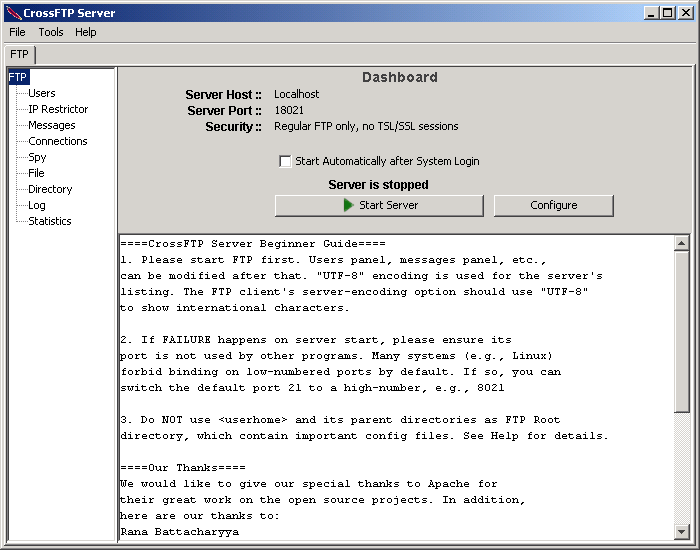
- press button.
The configuration dialog will show as follows.
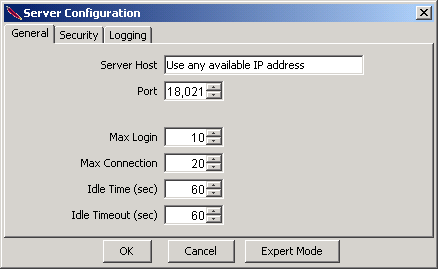
- change the port from the default 21 to 18021
- press the button to save the changes.
- press to start the server.
2. Add the User
Now we just want to add the user "upload" in the server to allow people download/upload of the diretory files.
- Click the Users item on the left FTP panel.
The users configuration panel will show as follows:
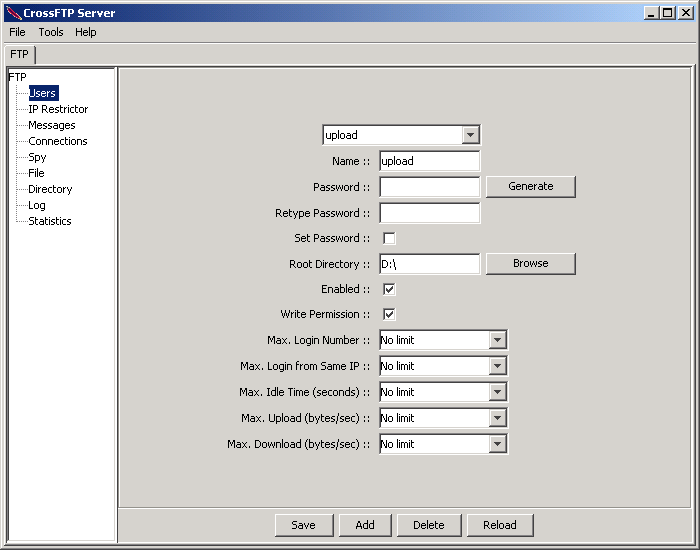
- Press to add the user
- In the Input dialog, put the user name as upload

- Press OK, and the new user is added with password the same as the user name.
- Choose the Root directory as "D:\", and check the write permission to provide this user the writing ability..
- If you want to change the user's password, fill in the password, retype it, and check set password.
- Press button, and the changes will take effect.
That's it. We have finished the configuration of the server. Quite simple, isn't it? Let's test this server's service to check its availability!
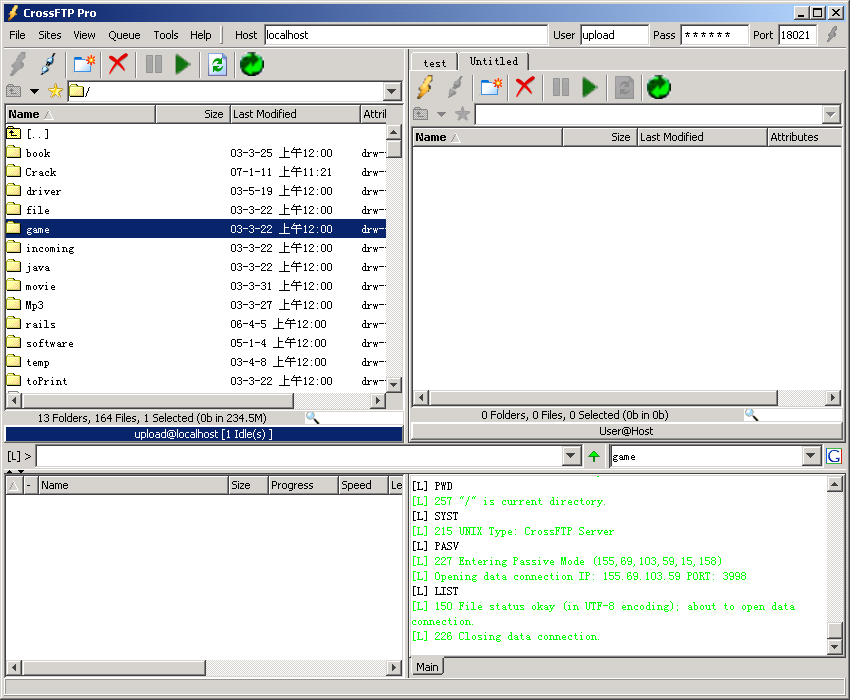
3. Test the Server
We will use CrossFTP Client to test the server.
- Choose Tools -> CrossFTP Client
- After the launch of CrossFTP Client, click one remote panel, fill in the Host (localhost, or your hostname), User (upload), Password (upload, or your changed password) , and port 18021, press Enter to click.
- If the server is configured properly, the panel will show the correct content of your D:/ directory as follows.